> ## Documentation Index
> Fetch the complete documentation index at: https://docs.ipmideck.com/llms.txt
> Use this file to discover all available pages before exploring further.
# Supermicro
> Configure IPMI-over-LAN on a Supermicro IPMI 2.0 BMC (X8–X12 boards) via the web interface or BIOS. Low-confidence, verify on your hardware before use.
**Low-confidence guide, verify on your hardware before relying on these steps.**
Supermicro BMC firmware differs significantly between board generations (X8 through X12).
The screenshots below are from an older Supermicro BMC and BIOS; treat the navigation
paths as a starting point, confirm them against your own board, and report corrections.
Owner hardware validation is pending.
**Applies to:** Supermicro servers with an IPMI 2.0 BMC (X8 / X9 / X10 / X11 / X12 boards).
Supermicro is **Experimental** with ipmideck, IPMI 2.0 works but is not yet exhaustively
tested. On most Supermicro boards **IPMI-over-LAN is enabled by default**; the main task
is giving the BMC a reachable LAN address, either from the web interface or from BIOS.
## Option A: from the BMC web interface
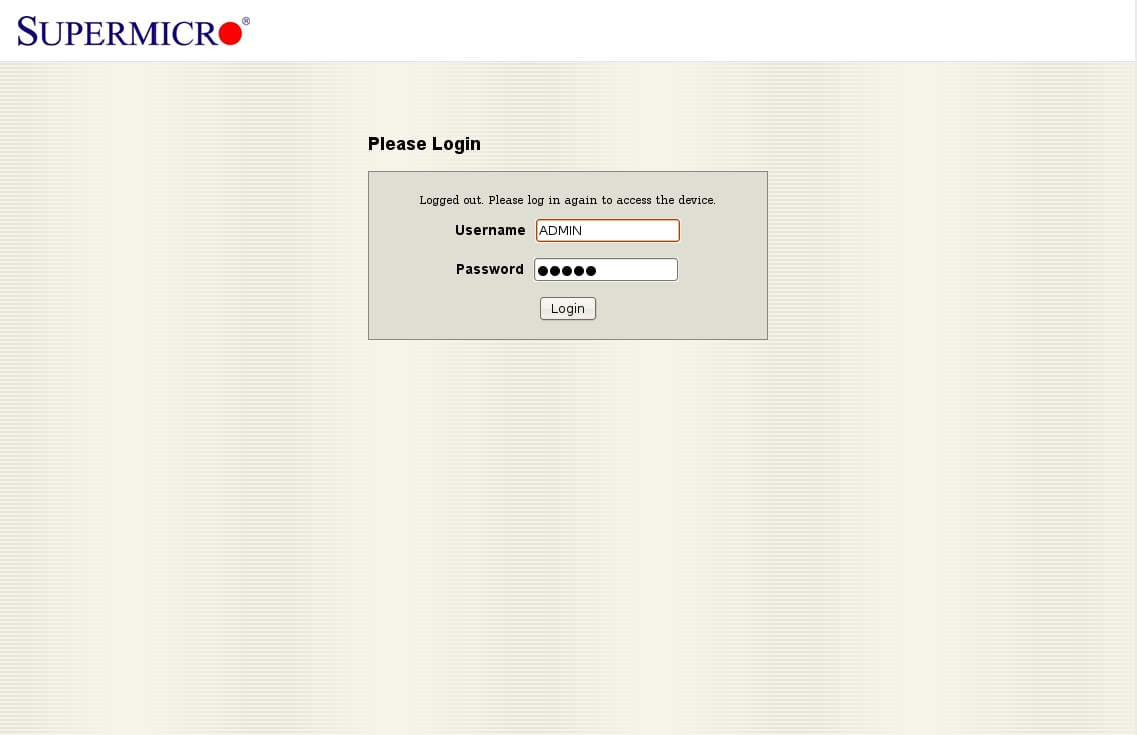
In a browser, navigate to the BMC IP address. The default credentials are
**ADMIN** / **ADMIN**, change them immediately after first access.
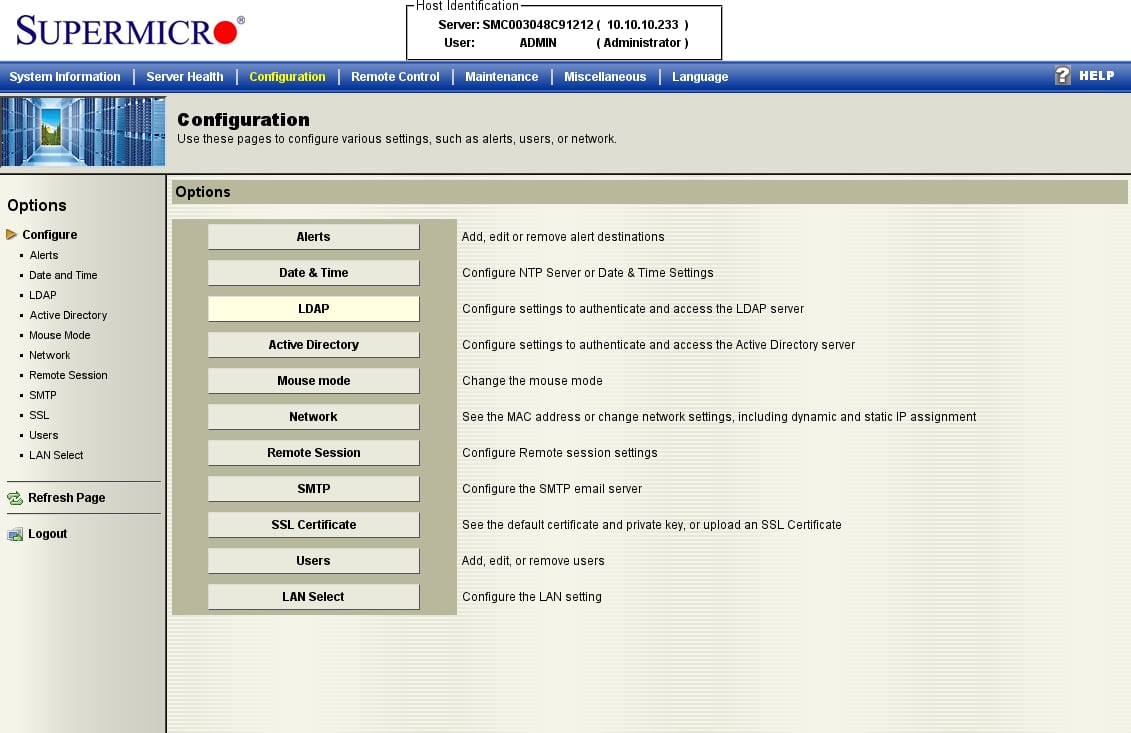
 Open the **Configuration** tab and choose **Network** from the options list. (This older
firmware groups everything under *Configuration*; newer boards may label it
*Network → Network Settings*.)
Open the **Configuration** tab and choose **Network** from the options list. (This older
firmware groups everything under *Configuration*; newer boards may label it
*Network → Network Settings*.)
 Choose **Obtain an IP address automatically (DHCP)** or **Use the following IP address**
and enter a static IP, subnet mask, and gateway, then click **Save**. IPMI-over-LAN is
already active on the default channel, this just makes the BMC reachable.
Choose **Obtain an IP address automatically (DHCP)** or **Use the following IP address**
and enter a static IP, subnet mask, and gateway, then click **Save**. IPMI-over-LAN is
already active on the default channel, this just makes the BMC reachable.
 ## Option B: from BIOS
If the BMC has no address yet, set it from BIOS. Press **DEL** during POST to enter the
BIOS Setup Utility.
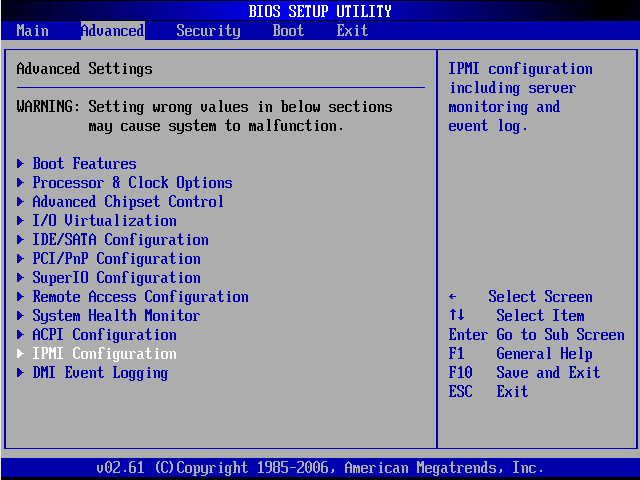
On the **Advanced** tab, open **IPMI Configuration**.
## Option B: from BIOS
If the BMC has no address yet, set it from BIOS. Press **DEL** during POST to enter the
BIOS Setup Utility.
On the **Advanced** tab, open **IPMI Configuration**.
 Confirm **Status Of BMC: Working**, then open **Set LAN Configuration**.
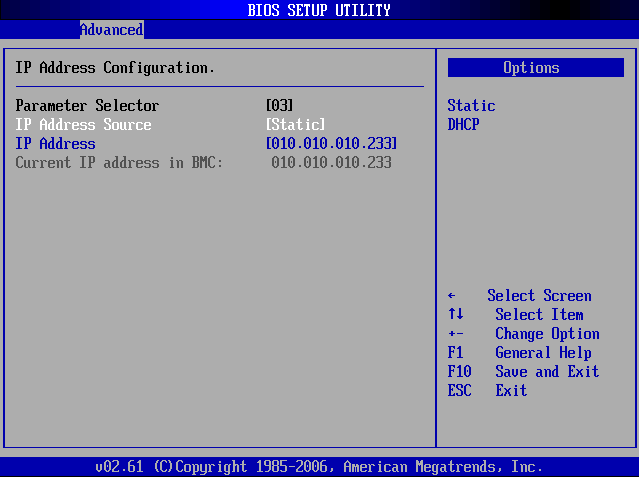
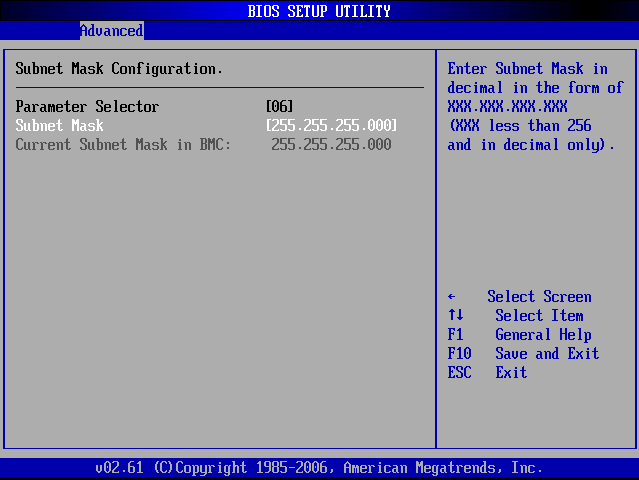
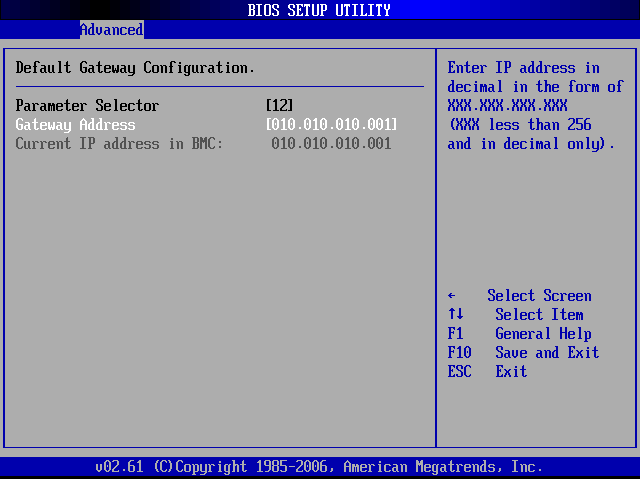
 Under **LAN Configuration** (Channel 01) you can set the **IP Address**, **Subnet Mask**,
and **Gateway Address**.
Under **LAN Configuration** (Channel 01) you can set the **IP Address**, **Subnet Mask**,
and **Gateway Address**.
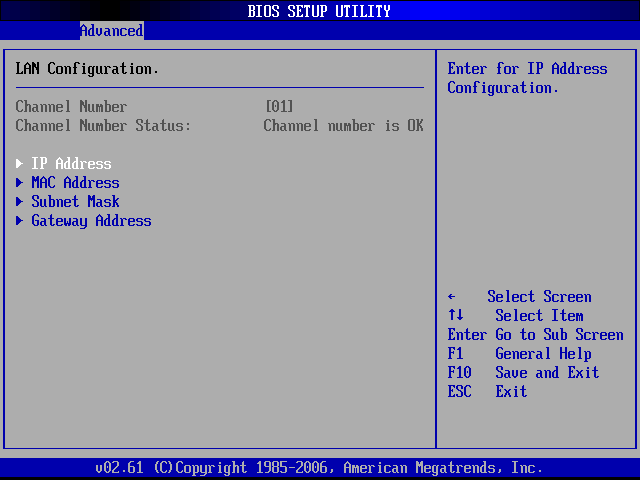 Set **IP Address Source** to **Static**, then enter the IP, subnet mask, and gateway.
Press **F10** to save and exit.
Set **IP Address Source** to **Static**, then enter the IP, subnet mask, and gateway.
Press **F10** to save and exit.
 ## Verify
From the host that will run ipmideck:
```bash theme={null}
ipmitool -I lanplus -H -U ADMIN -P ADMIN chassis status
```
**Flag for review:** Supermicro BMC firmware varies a lot across X8–X12 generations and
these screenshots are from an older board. Newer boards (X11 / X12) have a redesigned web
UI. Test against your specific board before relying on this guide.
## Source
[CITED: supermicro.com/manuals/other/IPMI\_Users\_Guide.pdf](https://www.supermicro.com/manuals/other/IPMI_Users_Guide.pdf) ·
[Thomas-Krenn Wiki, Supermicro IPMI Configuration](https://www.thomas-krenn.com/en/wiki/Supermicro_IPMI_Configuration_through_BIOS_or_Web_Interface)
## Verify
From the host that will run ipmideck:
```bash theme={null}
ipmitool -I lanplus -H -U ADMIN -P ADMIN chassis status
```
**Flag for review:** Supermicro BMC firmware varies a lot across X8–X12 generations and
these screenshots are from an older board. Newer boards (X11 / X12) have a redesigned web
UI. Test against your specific board before relying on this guide.
## Source
[CITED: supermicro.com/manuals/other/IPMI\_Users\_Guide.pdf](https://www.supermicro.com/manuals/other/IPMI_Users_Guide.pdf) ·
[Thomas-Krenn Wiki, Supermicro IPMI Configuration](https://www.thomas-krenn.com/en/wiki/Supermicro_IPMI_Configuration_through_BIOS_or_Web_Interface)