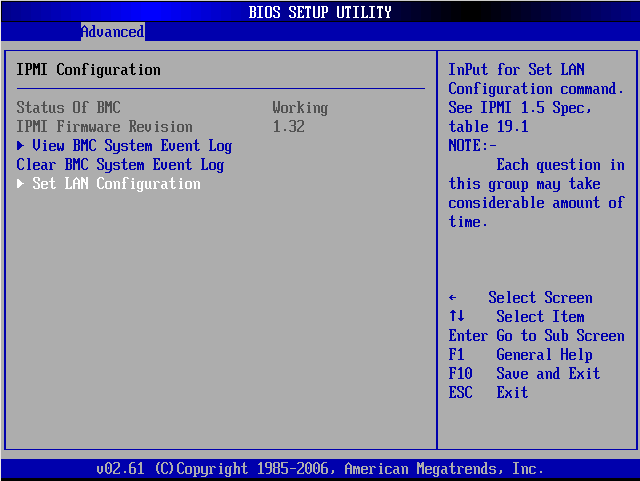
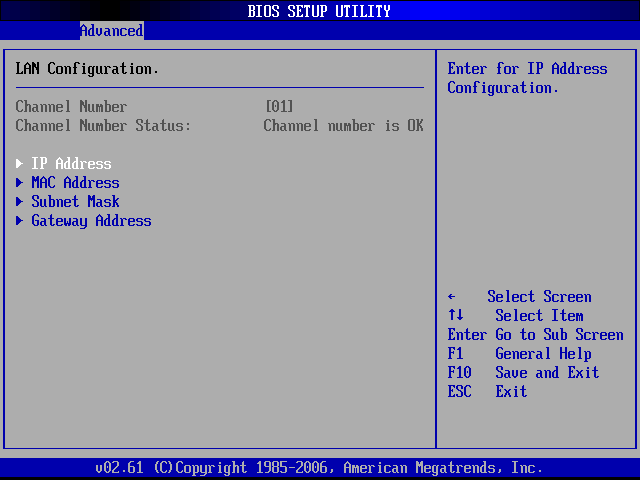
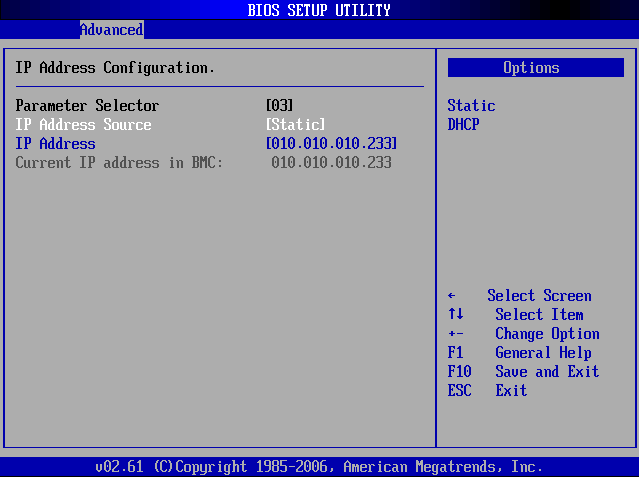
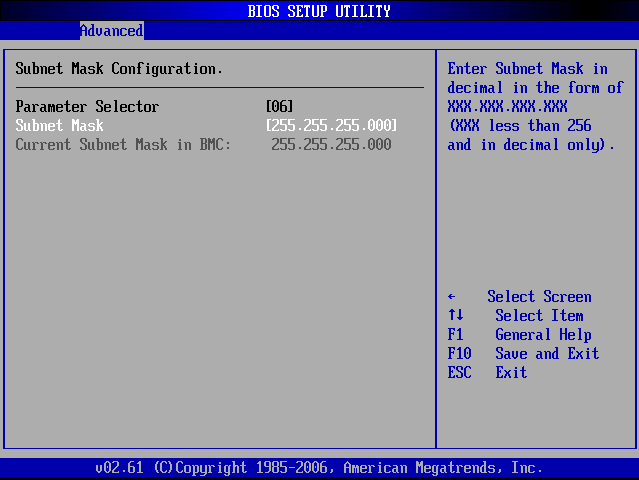
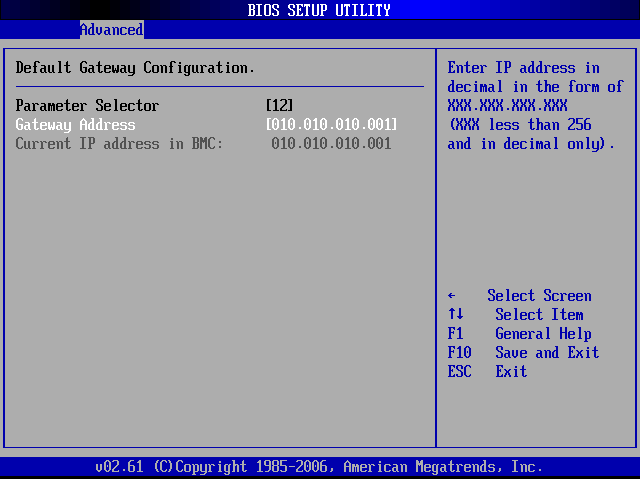
Configure IPMI-over-LAN on a Supermicro IPMI 2.0 BMC (X8–X12 boards) via the web interface or BIOS. Low-confidence, verify on your hardware before use.
Low-confidence guide, verify on your hardware before relying on these steps.
Supermicro BMC firmware differs significantly between board generations (X8 through X12).
The screenshots below are from an older Supermicro BMC and BIOS; treat the navigation
paths as a starting point, confirm them against your own board, and report corrections.
Owner hardware validation is pending.
Applies to: Supermicro servers with an IPMI 2.0 BMC (X8 / X9 / X10 / X11 / X12 boards).
Supermicro is Experimental with ipmideck, IPMI 2.0 works but is not yet exhaustively
tested. On most Supermicro boards IPMI-over-LAN is enabled by default; the main task
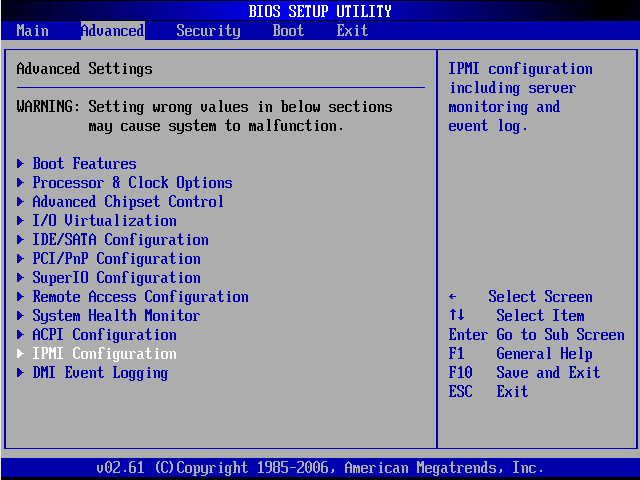
is giving the BMC a reachable LAN address, either from the web interface or from BIOS.
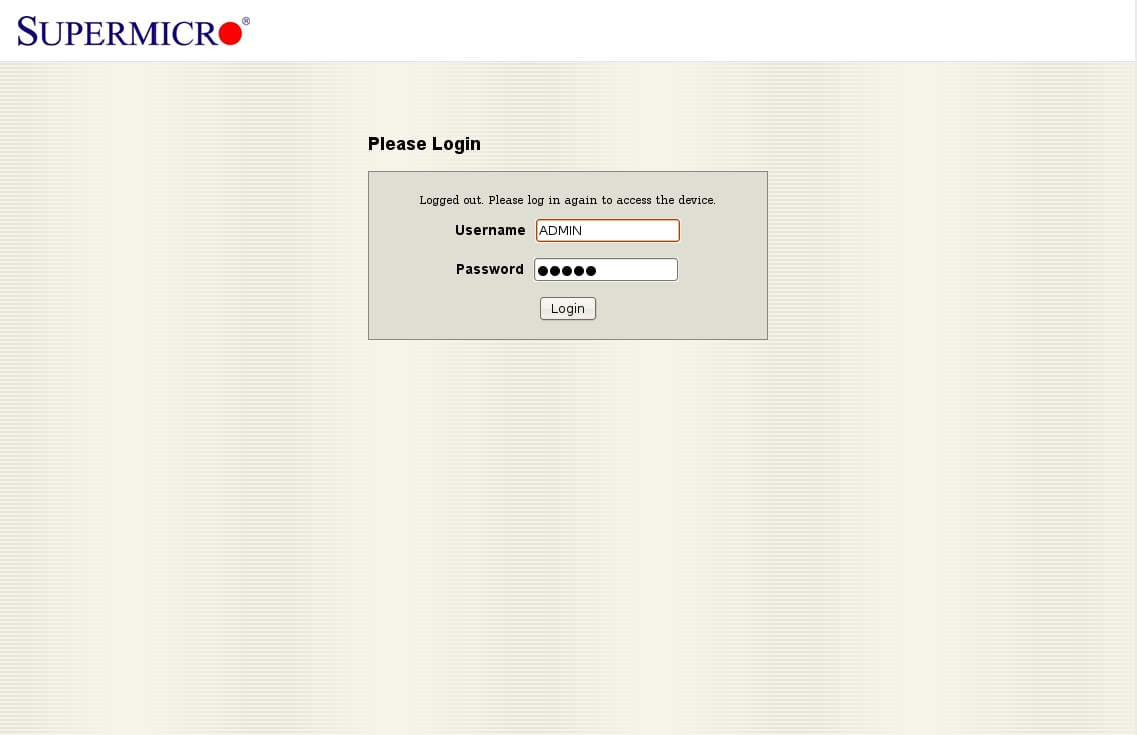
In a browser, navigate to the BMC IP address. The default credentials are
ADMIN / ADMIN, change them immediately after first access.
The Supermicro BMC login screen (default ADMIN / ADMIN).
2
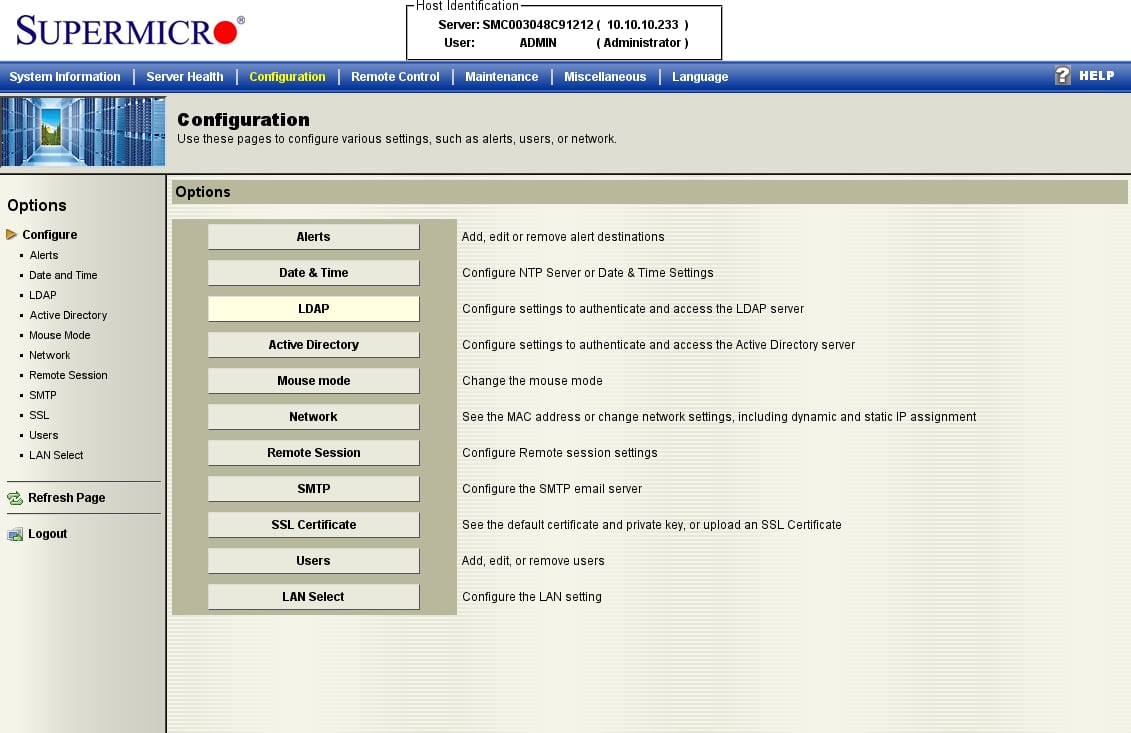
Open Configuration → Network
Open the Configuration tab and choose Network from the options list. (This older
firmware groups everything under Configuration; newer boards may label it
Network → Network Settings.)
The Configuration menu: open Network to set the BMC's LAN address.
3
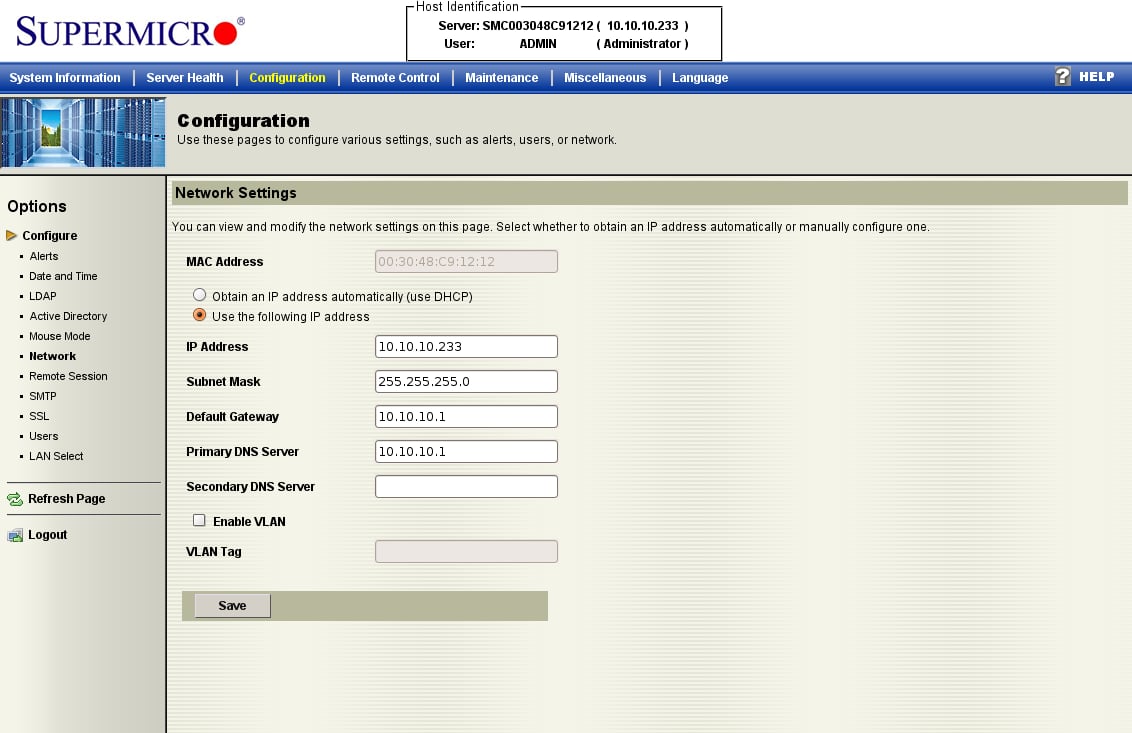
Set the BMC's network address
Choose Obtain an IP address automatically (DHCP) or Use the following IP address
and enter a static IP, subnet mask, and gateway, then click Save. IPMI-over-LAN is
already active on the default channel, this just makes the BMC reachable.
Network Settings: DHCP or a static IP, subnet mask, and gateway.
Flag for review: Supermicro BMC firmware varies a lot across X8–X12 generations and
these screenshots are from an older board. Newer boards (X11 / X12) have a redesigned web
UI. Test against your specific board before relying on this guide.